

30 prompts to create a beautiful girl
Just use 30 prompts to create a beautiful girl in stable diffusion


Many commonly used prompts in Stable Diffusion are essential for ensuring high-quality imaging results. In this guide, we will teach you some basic prompts and settings to save you time in the initial exploration process.
Our goal is to generate a beautiful photo of a girl.
Basic Settings
We will create a simple prompt using the phrase 1girl .We will use the ChilloutMix checkpoint, which can generate stunning realistic images.
Download ChilloutMix: https://civitai.com/models/6424/chilloutmix (This link has adult content)
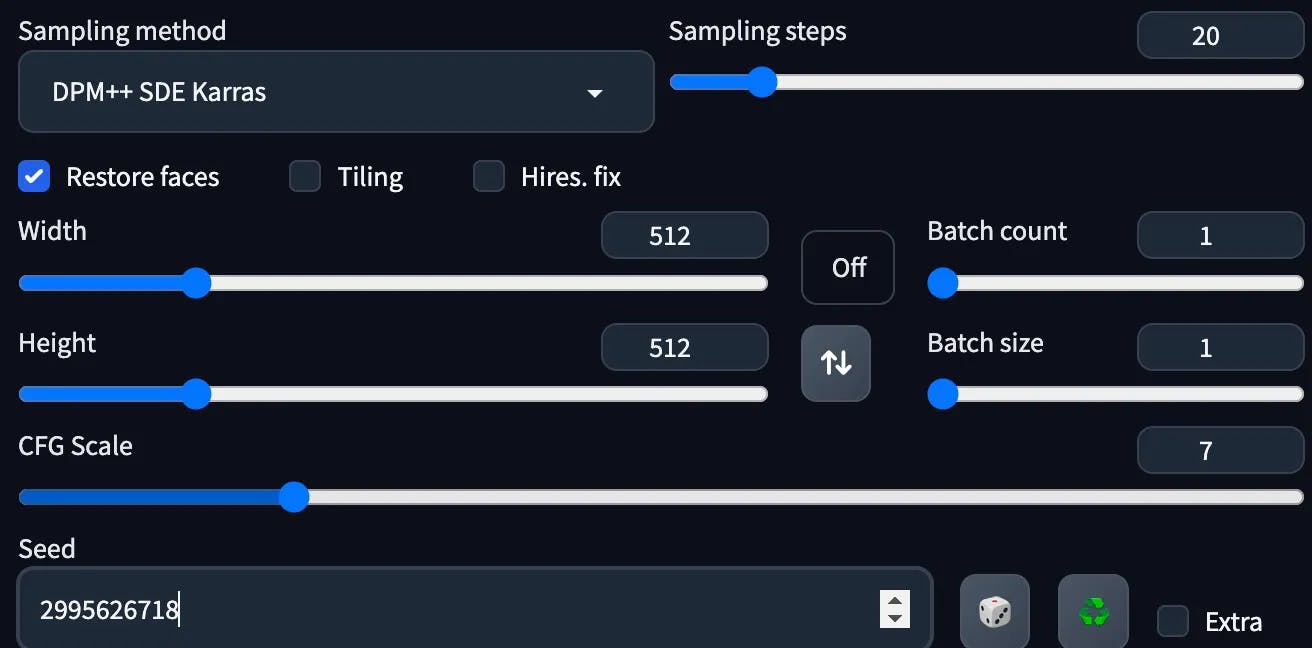
The other default settings include a size of 512 x 512, Restore faces enabled, Sampler DPM++ SDE Karras, 20 steps, CFG scale 7, Clip skip 2, and a fixed seed of 2995626718 to reduce randomness.
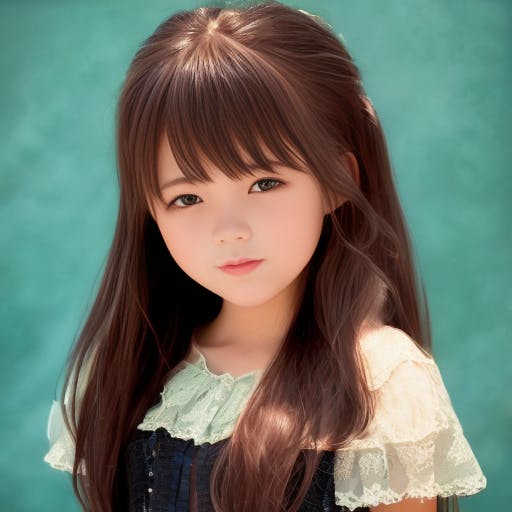
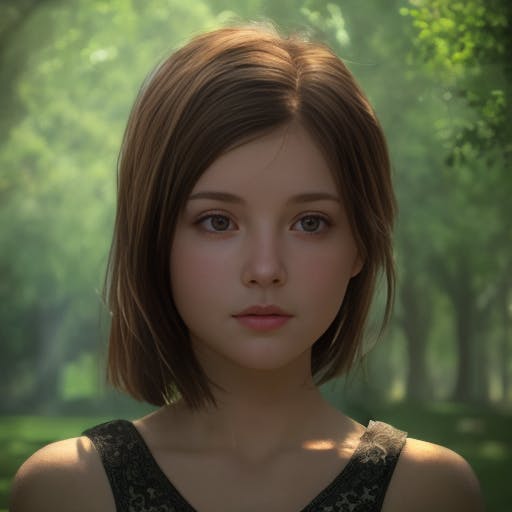
OK, This is a girl, but not beautiful…
Use Best Quality samples
We are now adding some basic prompts that will improve the quality of the generated images. Here are the explanations of these prompts:
- masterpiece — a prompt that produces master-level artworks.
- best quality — a prompt that ensures the best image quality.
- high resolution — a prompt that produces high-resolution images.
- 8k — a prompt that generates even higher resolution images than 4K.
- HDR — a prompt that produces images with a high dynamic range.
These prompts will help Stable Diffusion use the best samples for sampling, and there is no need to try them out one by one. By using all of them, you can improve the quality of the images to some extent.
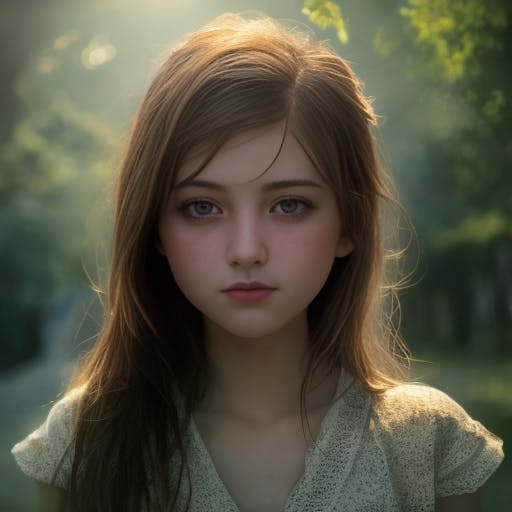
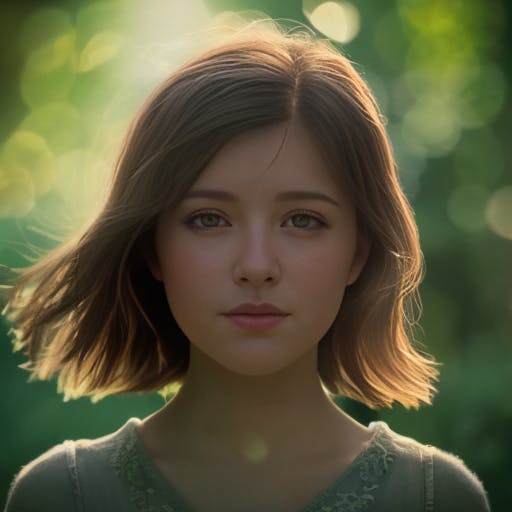
It looks a bit like 3D CG, and overall, it seems a bit dark. Yes, it’s the lighting! We are now adding some lighting prompts.
Adding Lighting
First, let’s add cinematic lighting to showcase movie-level lighting effects. Then, we can use different prompts to achieve different lighting sources. Also, we add a looking at viewer to make sure that the girl is looking at us and outdoor to make sure that the girl is outdoors.
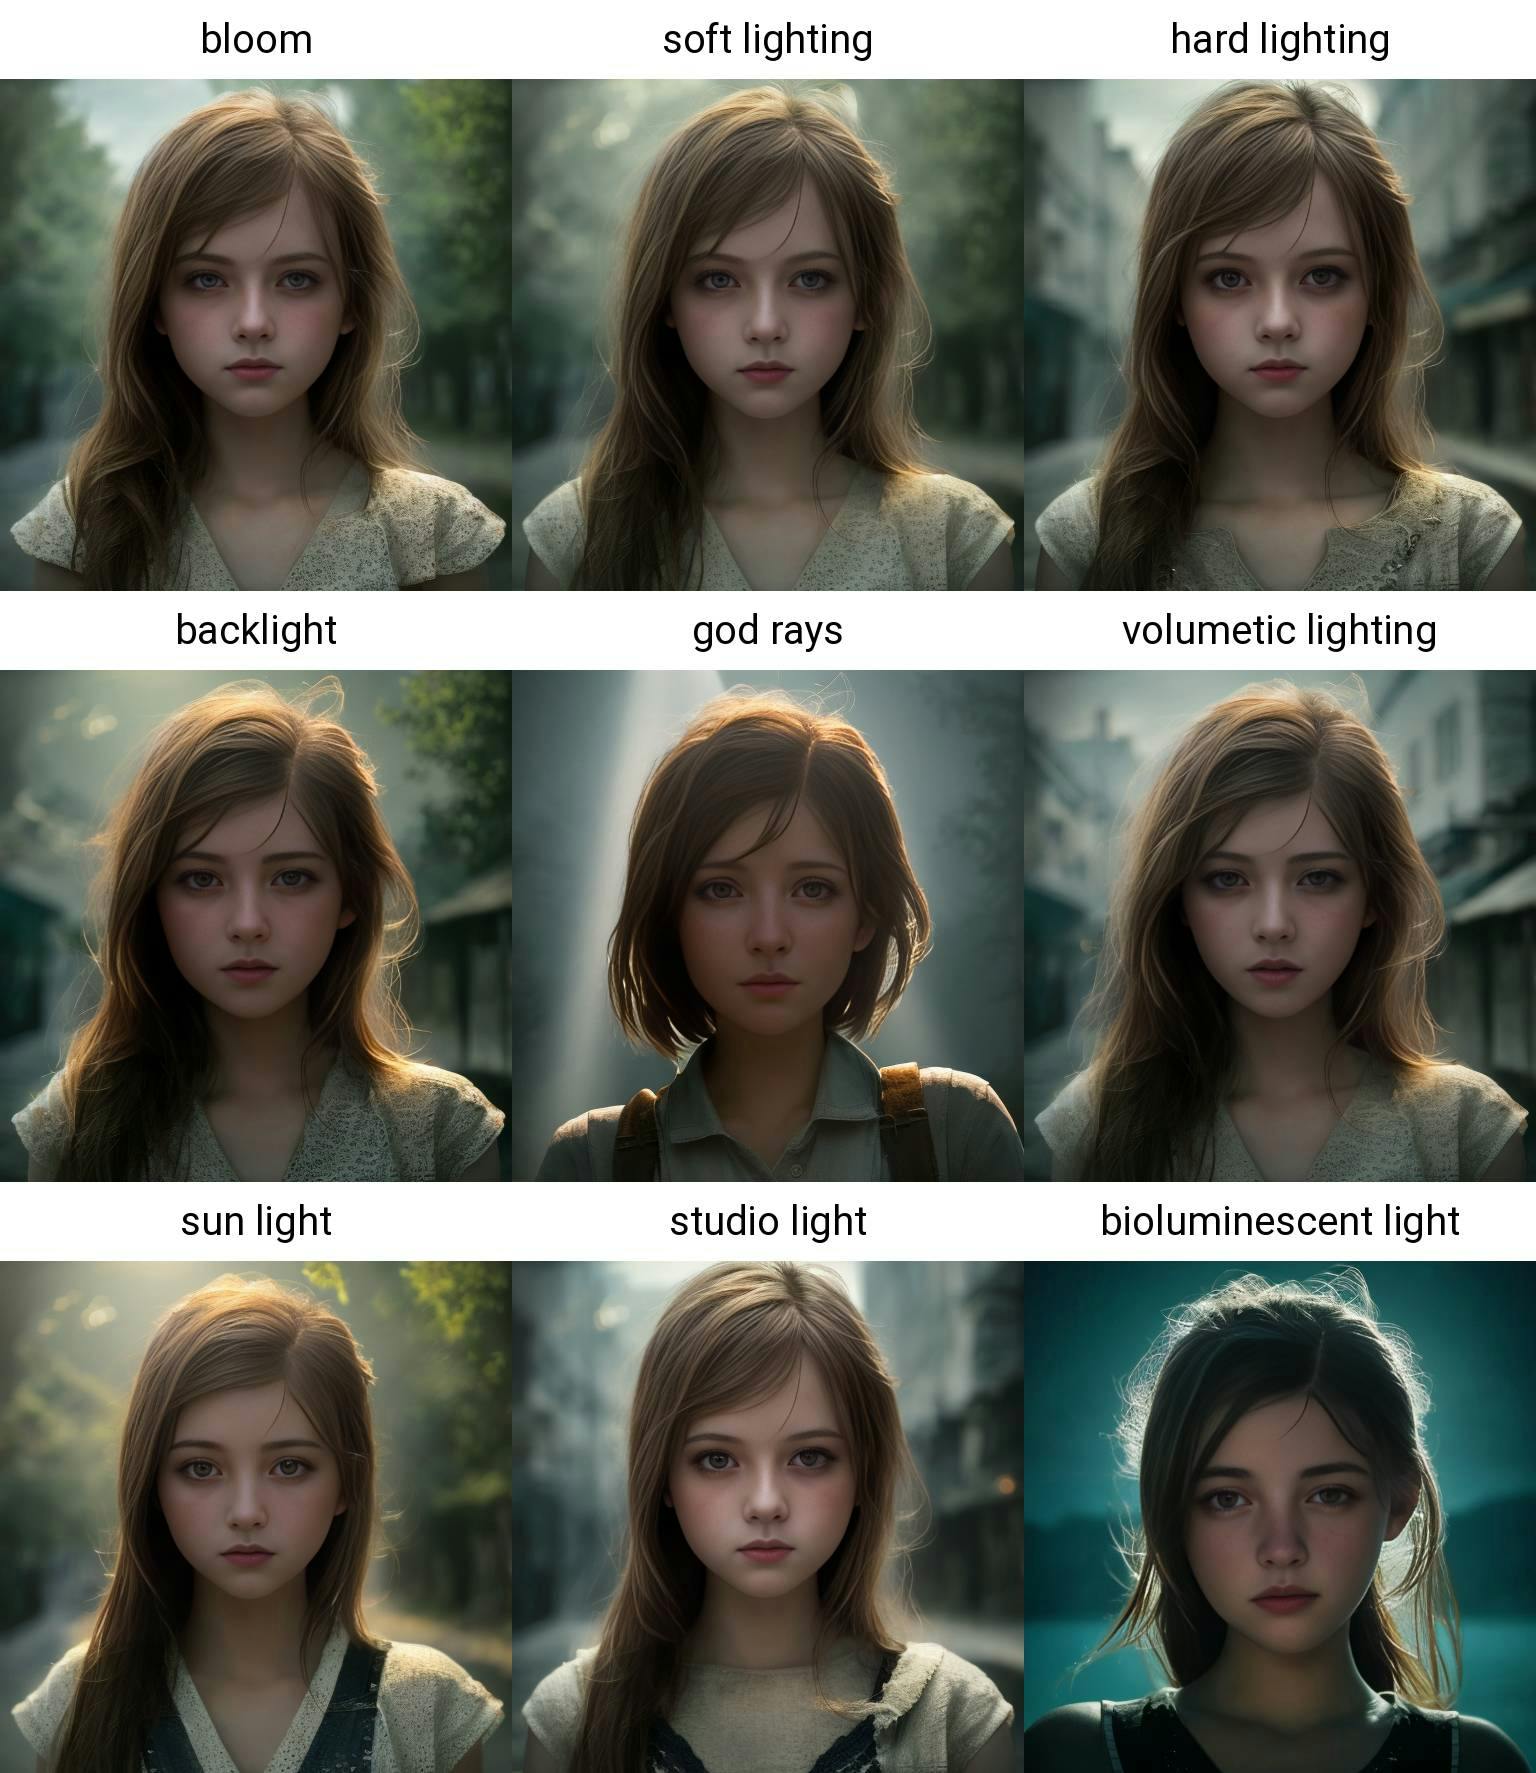
Let’s take a look at the effects of each lighting source:
bloom— makes the original lighting brighter, with a brighter effect on the top of the head and shoulders.soft lighting— a softer lighting source, with light on the face and a bit on the back.hard lighting— direct lighting on the subject, with a more prominent outline of the face.backlight— lighting from behind, causing the image to appear darker with the light on the shoulders and hair from behind.god rays— another type of backlight, with light shining down from a higher position, resulting in a particularly bright top of the head.volumetric lighting— like a soft version of backlighting, overall darker with a feeling reminiscent of Resident Evil.sun light— more natural sunlight, with trees in the background also appearing to be in sunlight.studio light— lighting sources on both sides of the face, creating a strong sense of three-dimensionality, like an advertisement photo.bioluminescent light— the subject emits light, like fireflies in the night.
The lighting looks good, but it still lacks realism. If there is light, there must be shadows, so let’s add some shadows and related prompts to enhance the realism.
Adding Shadows and Ray Tracing
detailed shadows— with some shadows appearing on the shoulder and clothes.intricate tree shadows— complex and intertwined tree shadows, making it look more realistic.ray tracing— more light reflections from the environment
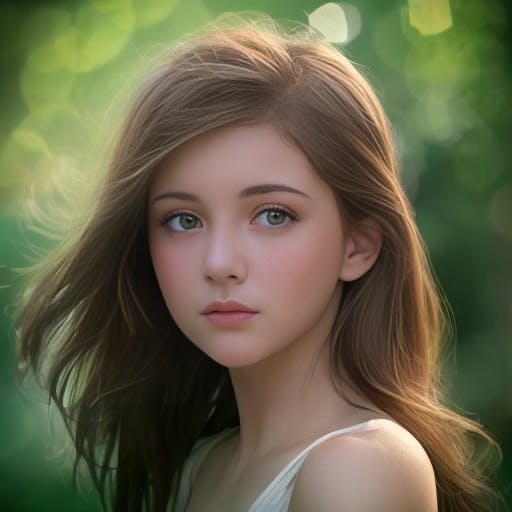
Overall, the realism has improved significantly, and the girl in the image is already quite beautiful. Next, let’s make the picture look more like a photo.
Adding Photo Effects
boken, depth of field— adding some bokeh and depth of field effects to make the image look like it was taken with a lens with a wide aperture.film photography, film grain— adding film grain to create a vintage film look. However, it may not be very noticeable since there are not many details in the image.glare— adding a little bit of lens flare effect, but it’s not very prominent.
As there is already a forest background, no additional background settings are needed. However, let’s add some wind to increase the sense of motion!
Add wind with weight control
wind— using the default prompt weight of 1(wind:0.5)— You can enclose a number from 0 to 2 to set the strength of the effect. The smaller the number, the weaker the effect.(wind:1.5)— The larger the number, the stronger the effect.
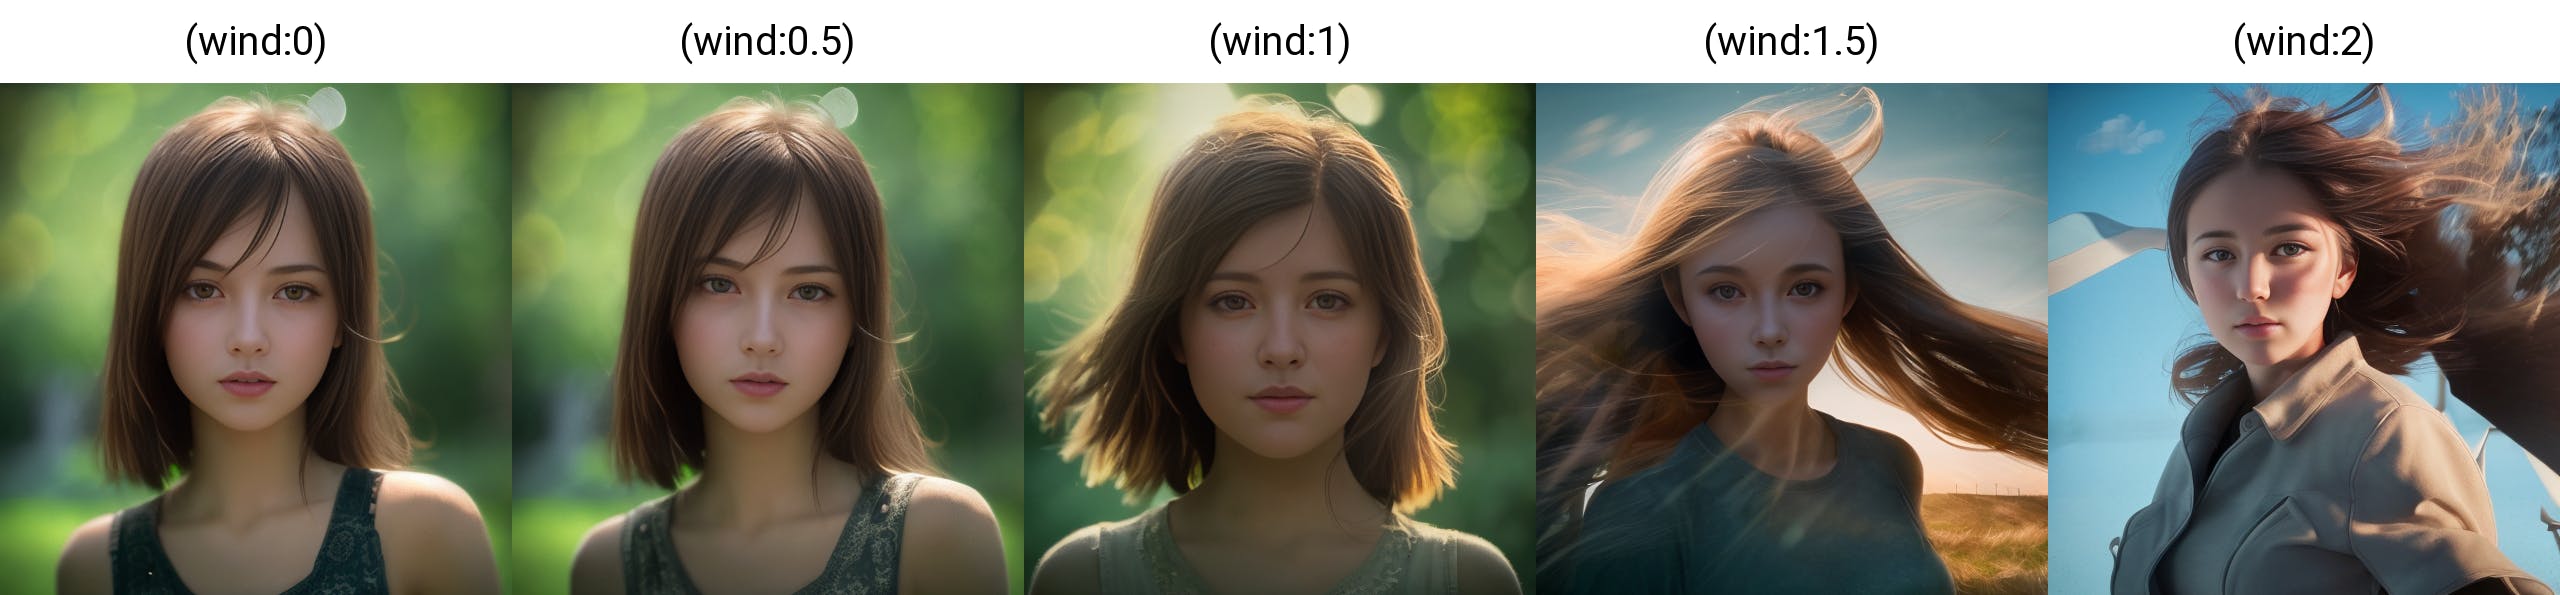
Typically, wind strengths are set between 0.6 to 1.4. If the value is too low, there will be no effect, and if it’s too high, it may affect the composition.
I don’t want too much wind, so I take wind:1.1 for the girl.
Don’t forget we need a beautiful girl!!
To add beautiful adjectives
We need to add some beautiful prompts:
beautiful girl— a pretty girldetailed hair— intricately detailed hairbeautiful face— a gorgeous faceultra-detailed eyes— incredibly detailed eyes
Adding more adjectives prompts to enhance realism:
(hyperdetailed:1.15)— hyper-detailed with a weight of 1.15outdoors— adding some outdoor elements
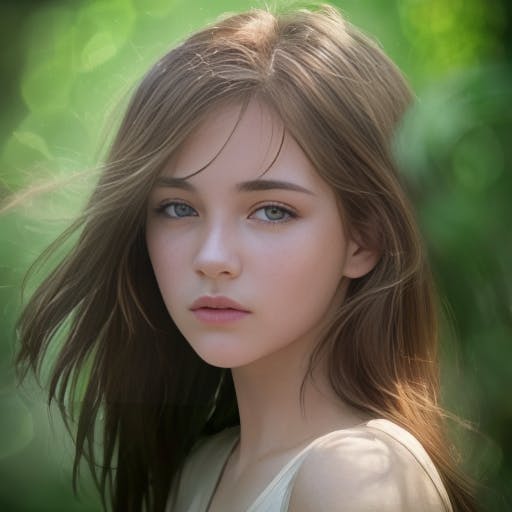
The lighting on the face looks more decent. Now, I’ll teach you how to add some negative prompts.
Adding Negative Prompts
The negative prompt is an important feature of Stable Diffusion, allowing you to add some prompts you don’t want to appear in the element.
The most recommended one is using EasyNegative, which is a universal negative prompt that can be used in almost any situation. It is highly recommended to download it.
To use EasyNegative in Stable Diffusion, simply download the
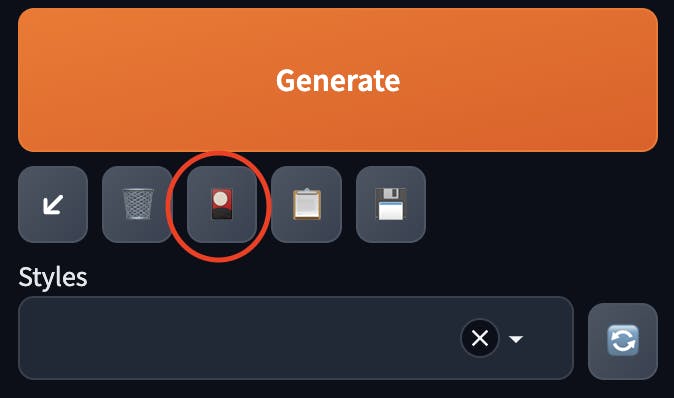
EasyNegative.safetensorsfile and place it in theStable-Diffusion-WEBUI/embeddings/directory of your StableDiffusionWebUI.Then, click the “Generate” button and open the “extra networks” tab.
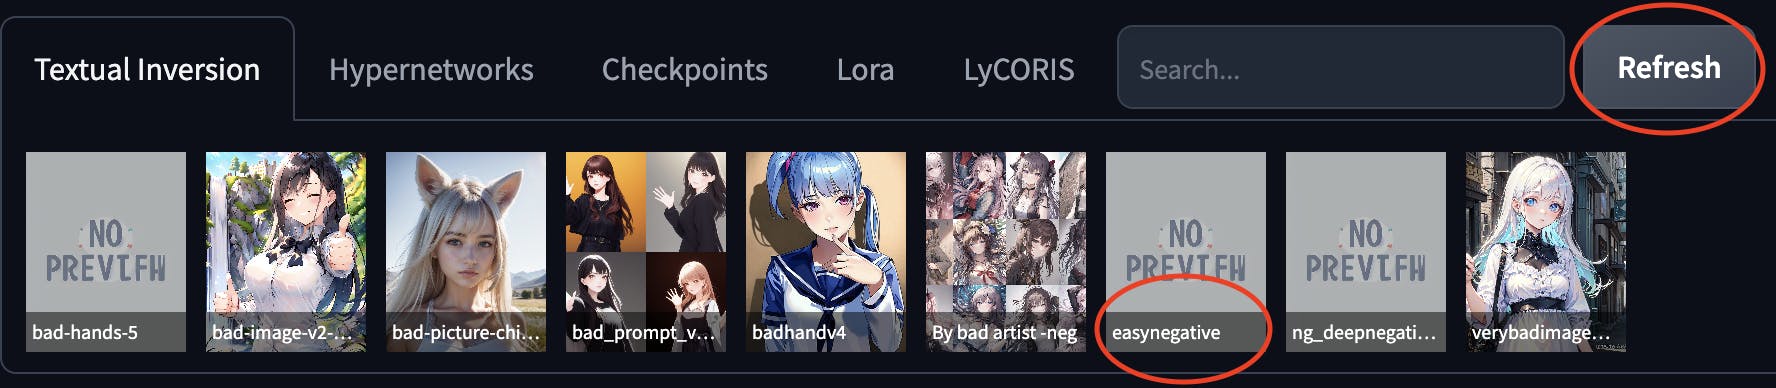
- To use it, click on the negative prompt input box and select
easynegative. Additionally, you can add your negative prompts besides easynegative.
Similarly to the beginning when we aimed to select the best sample, we now want to exclude the worst samples. Here are some negative prompts to help us achieve that:
(worst quality:2.00)— We do not want the worst quality, with a weight of 2.0.(low quality:2.00)— We also absolutely do not want low-quality samples.(normal quality:2.00)— We only want the best quality samples, not even normal ones.low-res— We do not want low-resolution samples either.
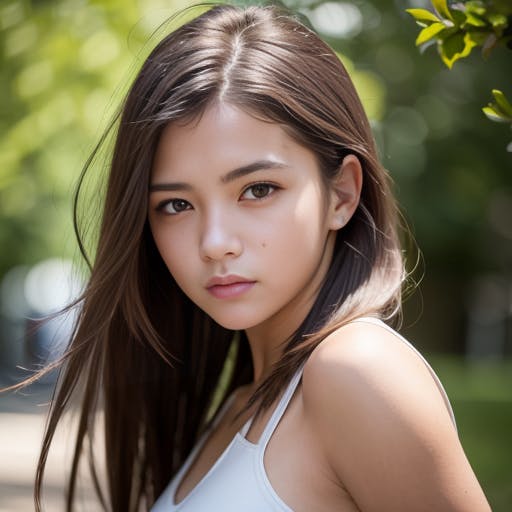
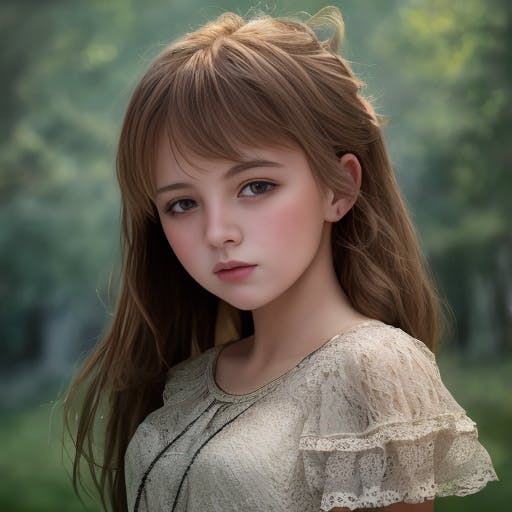
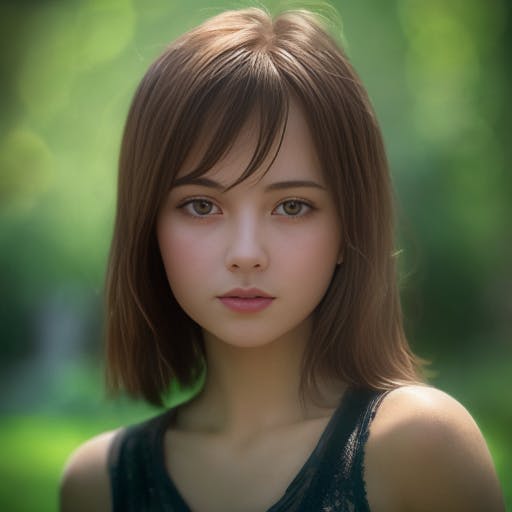
This is exactly what we wanted!
Let’s review the prompts — 1 girl, masterpiece, best quality, high resolution, 8K, HDR, bloom, sun light, raytracing, detailed shadows, intricate tree shadow, bokeh, depth of field, film photography, film grain, glare, (wind:0.8), detailed hair, beautiful face, beautiful girl, ultra detailed eyes, cinematic lighting, (hyperdetailed:1.15), outdoors
Negative prompt — (worst quality:2.00), (low quality:2.00), (normal quality:2.00), low-res, easynegative
In conclusion, while the negative prompt may seem insignificant, it has a decisive impact on the resulting image quality. Therefore, it is crucial not to overlook this aspect!